
| |
| Home Page | |
| My Music | |
| Buy my CD | |
| Pictures | |
| Awards | |
| Guestbook | |
| Links | |
| WebRings | |
Here is my approach to fingernail care, including fixing broken nails, and applying a layer of nail reinforcement. For me, this method will hold up for two successive gigs, or up to two weeks of daily practice.
The Product
Supernail Professional Swiss Silk Self Adhesive Wrap Tabs.
This is the product I use to reinforce nails as well as fix broken nails. You should get it at drugstores, it might take a little searching though. According to the inside label, it's made by a company named
American Intl. lnd.
Los Angeles, CA 90040
London, England UB4 OUJ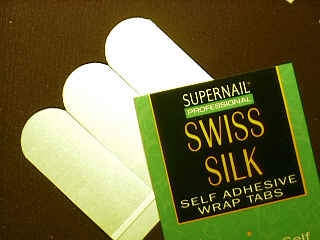
Removing Old Reinforcements
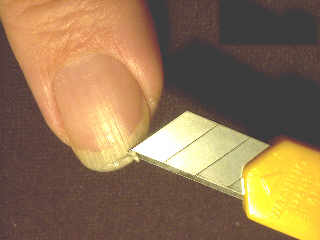
Before you apply a new reinforcement, make sure you remove any old layers. I use a paper knife to cautiously peel off any remainders of old patches.File off any residual material using a very fine sandpaper file. Be careful, don't let the file wear the nail thin. Finally, wash your hands thoroughly. You want your fingernails entirely grease-free, and the superglue will work best if your fingernails are slightly moist.
Fixing a Broken Nail
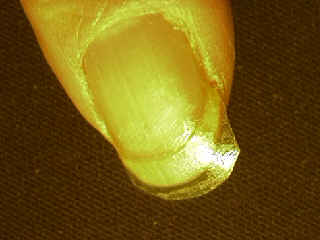
There you have your standard disaster. The nail has been deeply ripped at the very edge that's most exposed to the strings. But here is help.Before we can apply a layer of reinforcement material, we need to fix the rupture using superglue. Simply glueing the rupture won't make the nail stong enough to withstand any stress, but it's good enough to stabilize it to receive a layer of reinforcement later on.

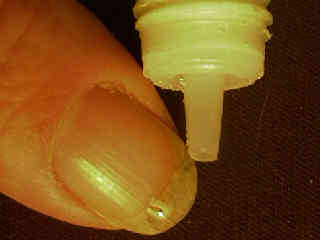
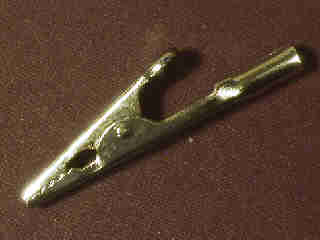
Put a drop of superglue onto the rupture. Wipe off execess glue before it cures. Use an small spring loaded clip to hold the rupture edges in place while the glue cures. You'll find these clips at Radio Shack, for instance. 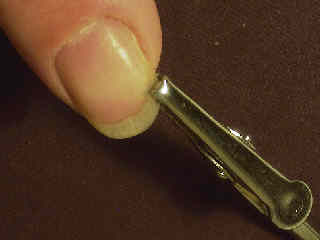
Using the clip, press the rupture edges in place while the glue dries. After the glue has dried, clean up the nail surface using a soft, fine sandpaper file. Again, don't overdo, you don't want to wear the nail thin. Apply Nail Reinforcement
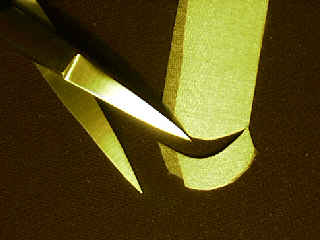
Cut off a narrow strip of the waxed carrier paper first (along the left edge of the patch strip on the picture). This makes it easy to peel the silk patch off the paper.Cut a piece of silk patch that matches the shape and size of the nail tip. The width of the patch should be about a quarter inch. Much of that will be cut and filed off eventually. When the procedure is done, the patch will cover between 1/8" and 1/4" of the nail tip.
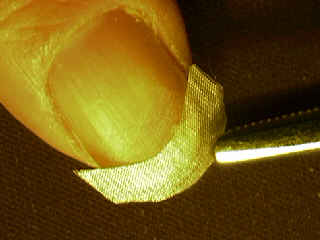
Put on the patch such that it covers between 1/8 and 1/4 inch at the tip of the nail. The product is called "self-adhesive" but that refers only to the very light adhesive that helps in the application process. It just makes the patch stay in place until superglue is applied. 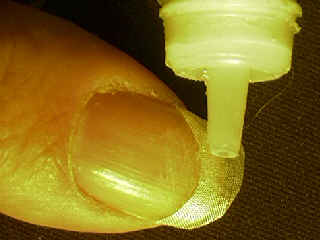
Soak the patch in a drop of superglue. Use a matchstick to spread the glue all over the patch. One drop is enough, usually. Only if the patch is not entirely soaked, apply another drop. Wipe off excess glue. Let it cure for about 15 minutes. 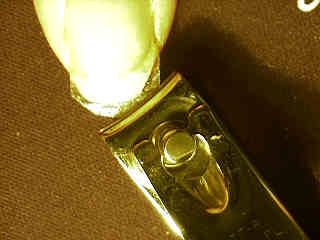
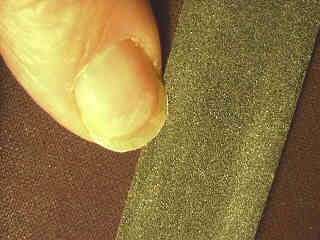
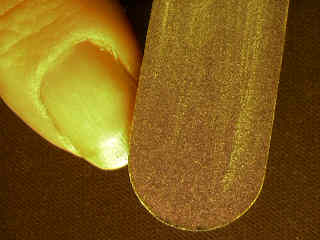
Trim the patch, and, if required, the nail. File the nail to give it a smooth round edge.
I have experimented with layered patches, but I find that exactly one layer is usually enough. The nail retains much of its flexibility, thus the danger of breaking or the patch coming lose is actually reduced.The only case where multiple layers might be required is if the nail is badly broken. A multi-layer patch won't last more than one gig or a couple of days of practicing, though.
I have also experimented with larger patches, including covering the whole nail. I thought this would hold up better for back of the nail downstroke playing. I found that this was not the case for me. Most of the downstroke wear happens at the nail tip, thus a quarter inch patch is sufficient.
Also, the patch will come lose, eventually, but not all at once. The smaller the patch is, the less cleanup work is required before applying a new patch.
Covering the nail with an air tight material increases the risk of fungus infections, they say. Again, the small patch proposed here only covers the free standing tip of the nail plus 1/8" beyond that at most. As it grows out within two weeks, I think the risk of fungus infections is zero.